
Ingredients:
2.5 tsp Active Yeast
1 & 3/4 c Water
2.5 tbsp butter (softened) (or vegetable oil)
2.5 tbsp sugar
1 tbsp salt
1 large egg
1.5 c of Whole Wheat Flour*
4ish c of White Bread Flour
*Go ahead and increase the wheat to white flour ratio if you like. I won't stop you! Wheat rises a little slower and tends to be more dense, so I would at the most start with 50/50 flours.
1. First thing you are gonna do is activate your yeast. Don't WTF me- it's super easy! Take a big bowl (I use the one I plan to make the dough in) and add your 2.5 tsp of yeast. Also add 1/2 tbsp of your sugar, and 3/4 c of WARM water. NOT HOT. I don't want to scare you, but if it is too hot for your touch, it will kill the yeast. Aim for water that feels just a little warmer than your body temperature. Give it a stir and then go wander off for 10 minutes. When you come back, it should look frothy and smell pleasantly yeasty. Yes, I make up words.

This step not only makes the bread rise easier, but it also ensures your yeast is alive. Wouldn't it suck to go through all these steps for nothing? Indeed.
2. As your frothy yeast is hanging out, get a smaller bowl and add the softened butter, 2 tbsp of sugar, and 1 c of WARM water. If you use hot, whatever, just let it cool a bit before you add it to the main bowl.

3. Add the sugar butter water to the yeast mix; also add your salt, egg, and your 1.5 c of whole wheat flour. Mix this up nicely (it will be pretty wet), then cover it and walk away for 10 minutes. Seriously.
If you REALLY want to know why, it's because the flour feeds the yeast, and you are further giving it the ability to activate and get frothy.
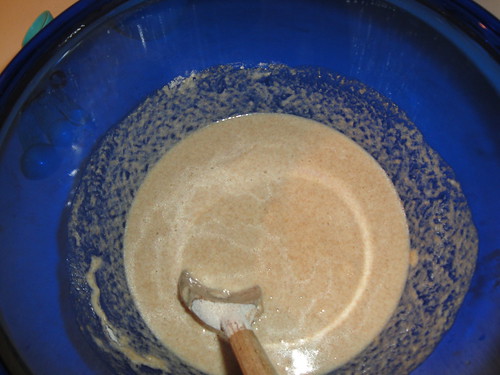
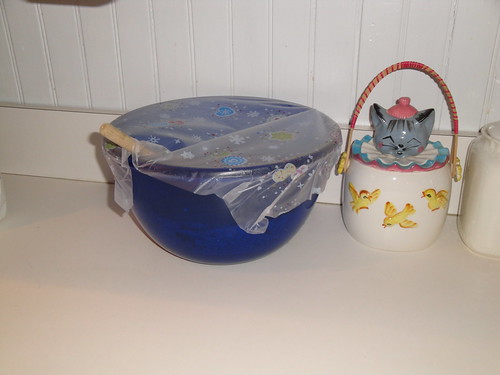
Not that I think you really care, but I judge myself over the plastic wrap. I will have to buy those reusable bowl-hats. I like plastic better than damp towels for covering. Here is the mix after frothing- notice it is slightly thicker with some air bubbles coming up.
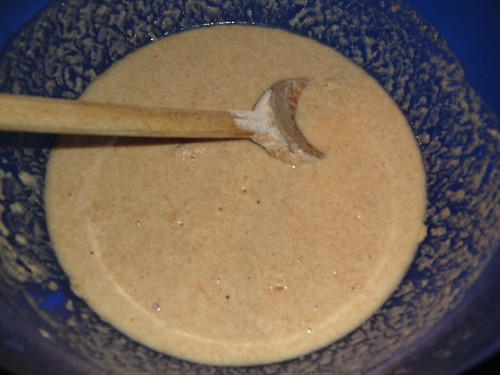
4. Anyhoo, come back after the 10 minutes and start adding in your white bread flour. Add it cup by cup and mix. I say 4 cups, but I ended up using 4.5. Here is the batter after adding just 2 cups of the white bread flour. It's already getting chunky.
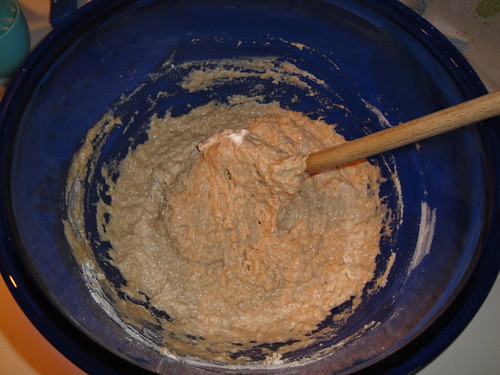
After 3 cups- notice it is beginning to pull away from the sides of the bowl.

Now comes the FUN PART. Now we get dirty. At some point, you have to give up the spoon and add the remaining flour by hand. (EW, wash them first!! Also, I do not recommend long nails.) If you keep a bit of flour on your hands, it shouldn't stick too much. Also, as you add flour, the dough becomes more interested in itself than your skin. You might notice that my hands look pretty clean by the end.
I believe this is 4 cups of flour, and I am just tossing the dough around and squeezing it to get all the flour in. Basically, you keep doing this until the dough doesn't stick to you anymore.

Here we see the dough ball pretty much how you want it- uniform and smooth. You should be able to hold the dough upside down without it breaking or falling down like slime. (Do they still sell toy slime? You know, I actually still remember the smell of it.)
At this point, I knead it right in the bowl. Just fold it in half, then spread it down & out (ha). Fold it in half, rotate it a quarter turn, and repeat. Do this for 10 minutes. It gets a little tedious, but music, television, or a vivid imagination are all very helpful here. Also, think about your glorious new bread muscles.
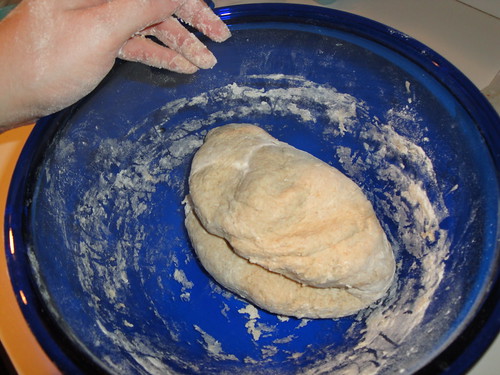

Eventually, you have the happy doughball. Leave him in the bowl and cover him up again. GO AWAY FOR AN HOUR.
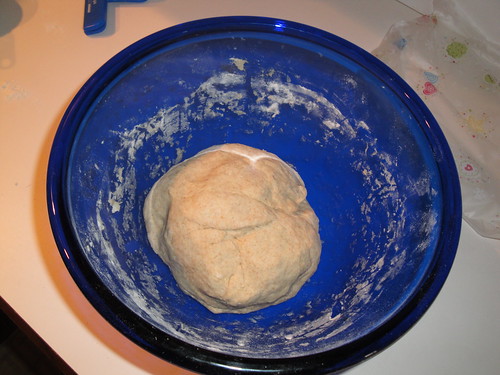
5. Check on the doughball in an hour. I was actually planning to leave mine for 2, since my kitchen was pretty cold, but I am glad I didn't!! My dough was crazy big. The rule of thumb is that you want it to double in size. I'd say that happened. If your doughball did NOT double, go away and check back in 30 minutes. It's not the end of the world if it under-rises a bit.
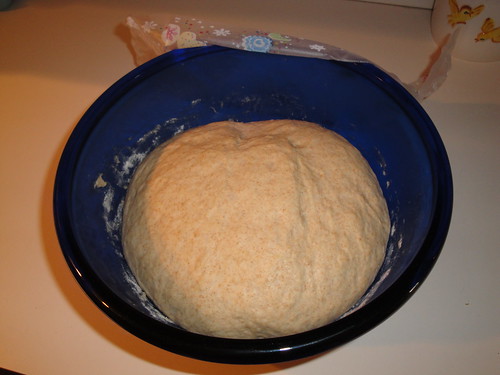
Now you will need your loaf pan(s), maybe a rolling pin, and some extra flour to sprinkle on the counter. I have a bag of "mystery flour" that I use. I can't remember if it is bread flour or all-purpose flour...so now it is sprinkling powder.
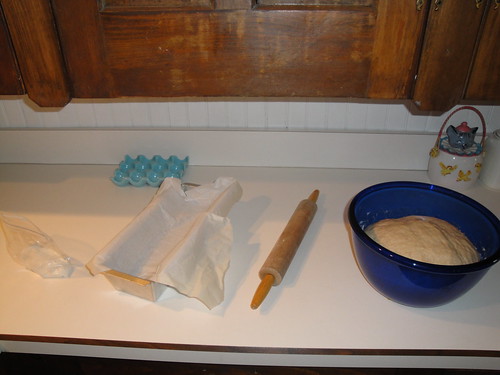
Punch the dough to deflate it. This is quite satisfying, and possibly my favorite part. Slap it on the counter (sprinkled with flour) and knead or roll it to get all of the air out. Try to get it about the size of our pan, then roll it up tightly and plop it in the pan.
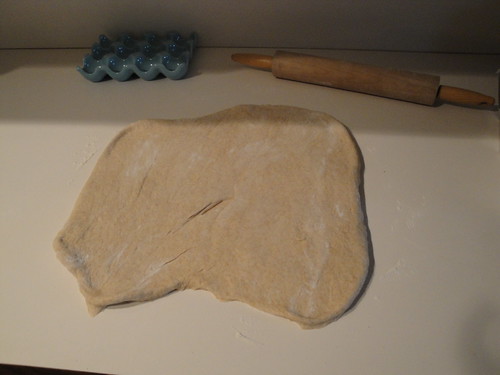

I am really bad at this step. It is always uneven and rises all lopsided. You don't *have* to use a pan. You can be fancy and let the dough rise in a basket to take its shape. Or just plop it on a pan and see what happens. Personally, I get a perverse kick out of wanting people to eat my wacky-looking bread.
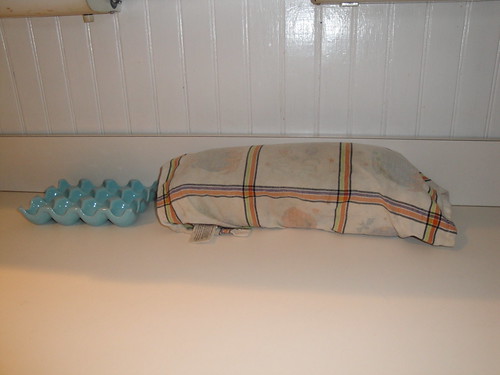
6. ANYWAY, cover the pan, and walk away for another hour. Seriously. My plastic doesn't stick to the parchment, so I put on the plastic and then a towel.

When there is about 15 minutes left of your 2nd rise, preheat your oven to 400 degrees. Your loaf should look bigger. And.... YEP! I called it- wildly uneven. =)
7. Cook the loaf at 400 for 10 minutes. Reduce the heat to 350 and cook an additional 25 minutes. It should sound hollow when you knock on the top with your knuckles. Immediately pull the bread from the pan and let it cool on a wire rack (otherwise it gets soggy).
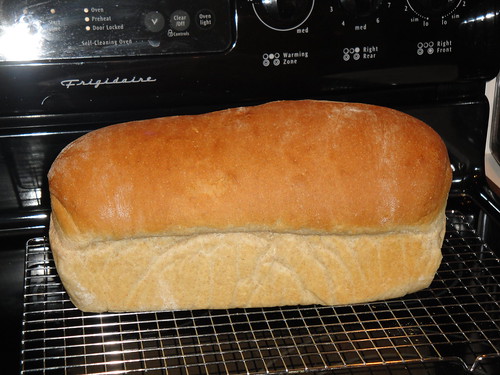
Okay, so the POINT isn't that I loaded too much dough into one pan and ended up with a wildly huge loaf, the point is that now you have the basic idea of bread-making. Now go buy a bread book in confidence. =)
If you are wondering how earlier breadmaking attempts have gone (no doubt you are!), I have a few posts here! http://tentacledmonotony.blogspot.com/search/label/breadmaking
No comments:
Post a Comment